Gardening has always been a popular activity that most people pick up when the weather is nice, and there’s no better time to start designing a garden than now by putting your creativity to use with these do-it-yourself projects.
While gardening may be a gratifying and relaxing activity, one of the most common barriers to people taking up gardening as a pastime is a lack of time or attention required to care for their plants correctly. Like all things that need attention and care to thrive, gardening enthusiasts and amateurs have come up with a few of the best gardening technologies that make it much easier for everyone to tend to their plants, not just experts.
1. The Paper Potter
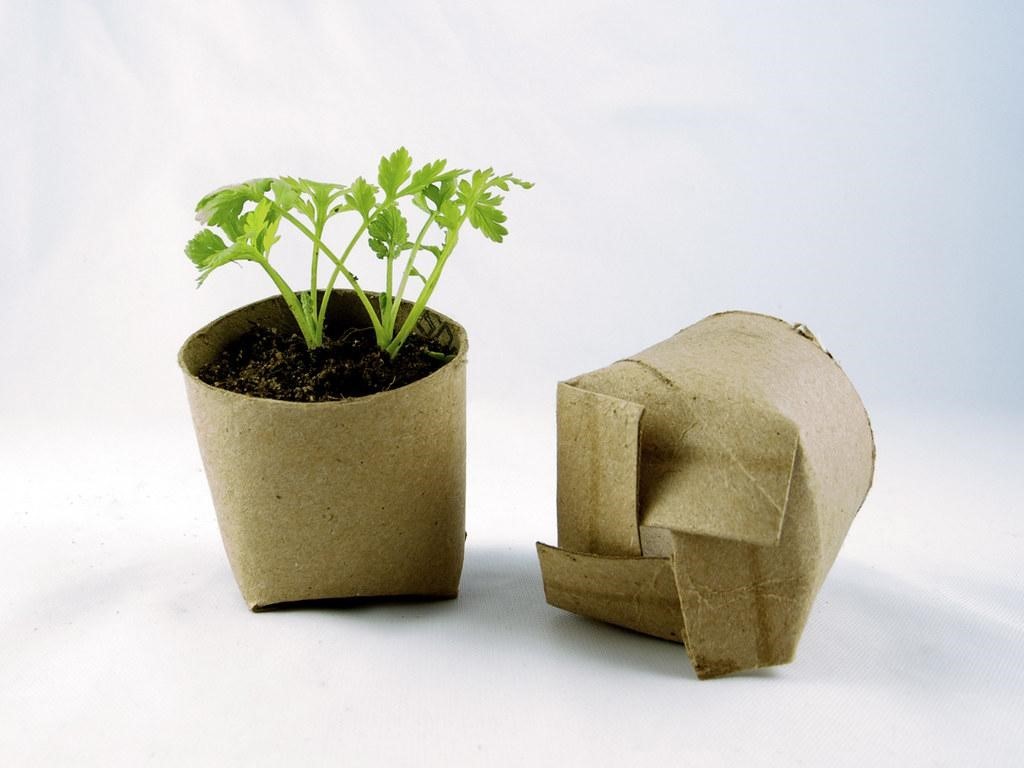
The paper potter is a brilliant little gadget for manufacturing your biodegradable pots from newspapers quickly and easily. These paper pots are ideal for starting and transferring seedlings, and they can even keep invading roots from tangling with those of a newly planted veggie or flower once the plant is ready. So, when it’s time to start seeds again, keep your newspapers and toss out those plastic pots and starter flats.
2. Nourish mat Garden System
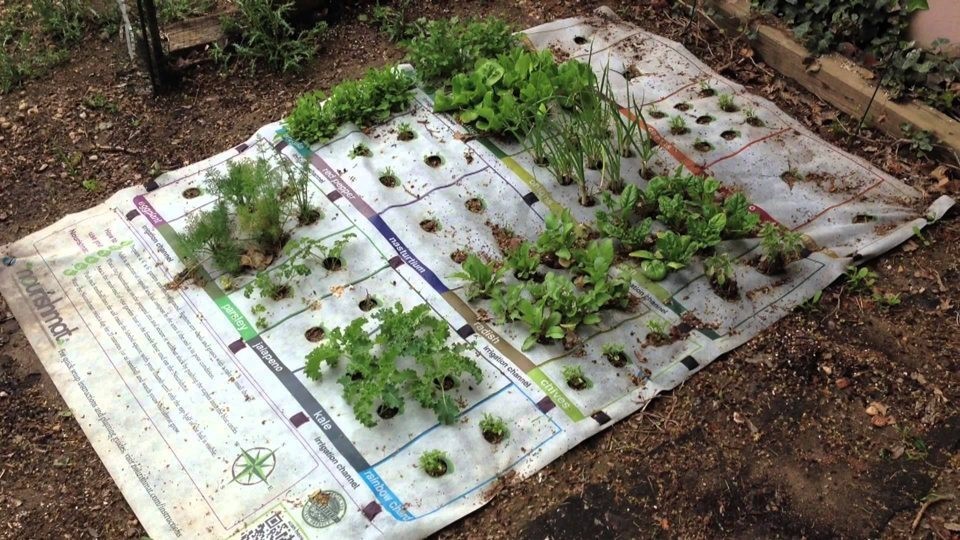
The Nourish mat Garden System is a four-by-six-foot ‘roll-out garden’ that does gardening as straightforwardly. This DIY Nourish mat has pre-cut holes for plant spacing and pre-planted seed balls of various vegetables, herbs, and flowers, making it ideal for compact spaces and those with limited gardening time. The mat works as a natural weed barrier, and the integrated irrigation system makes plant maintenance convenient and straightforward. This equipment serves as a terrific introduction to gardening, but it also reduces CO2 emissions, conserves over 80% of water, and is a fun pastime for the whole family.
3. Tube Pad
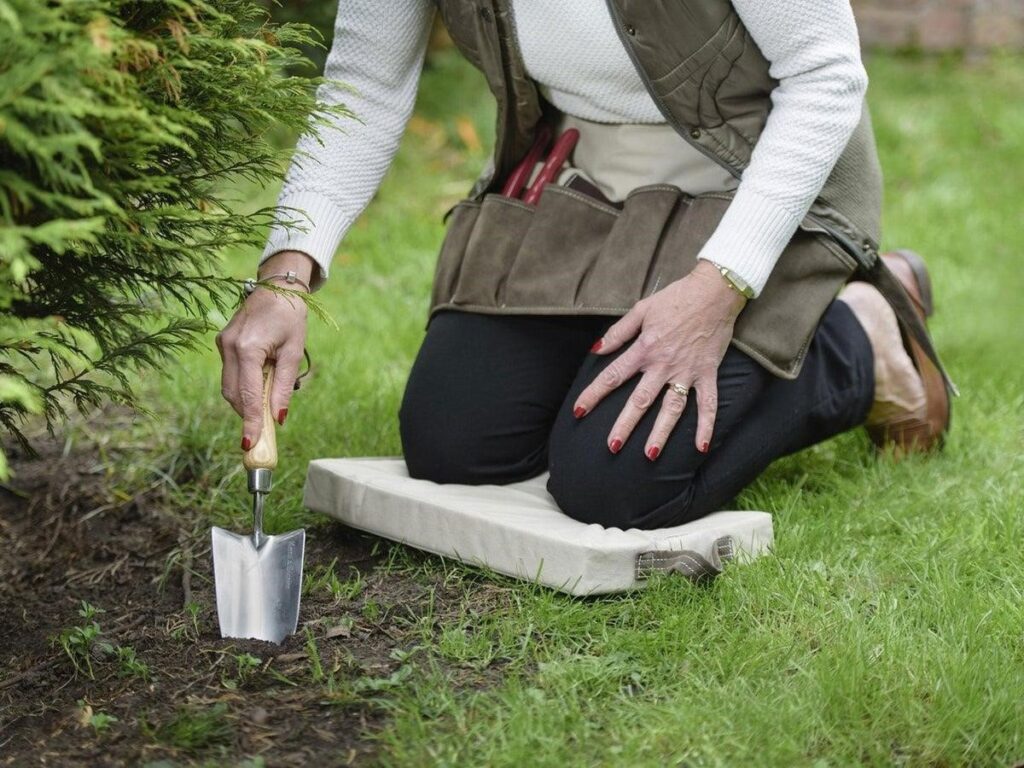
After a half-hour of gardening, are your knees hurting? Flat Tire’s excellent recycled tire knee pad does not need to suffer. The Tube Pad is built from reused industrial inner tubes and padded, making it as harsh on the ground as gentle on your knees. The Tube Pad is easy to clean, flexible, wet, and abrasion-resistant, and naturally adapts to the curvature of your knees.
4. Recycled Tire Tubs
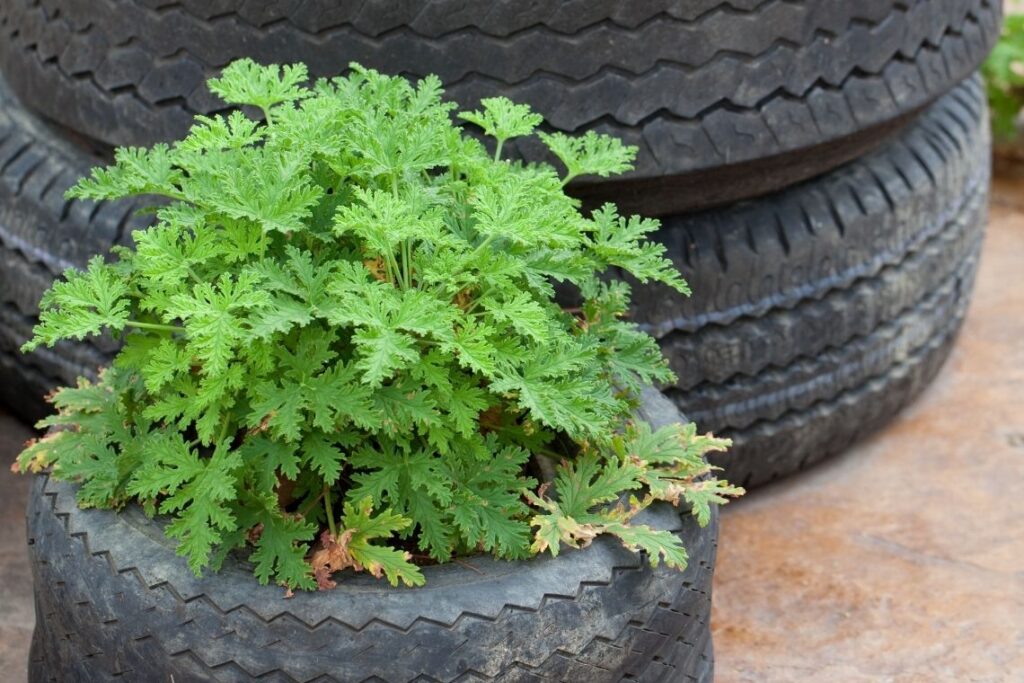
Tubs, which come in sizes ranging from 6 to 12 gallons, are another one of our DIYer’s favorite gardening equipment created from recycled tires and plastic. This multi-purpose carrier isn’t your typical bucket, and it’s ideal for hauling weeds, leaves, compost, plant starts, tools, and even liquids. These flexible tubes feature two solid handles and are incredibly easy to carry and manage. They also last much longer than standard plastic buckets. It can be used for various tasks, including collecting rainwater, washing pets, watering plants, transporting firewood, and cultivating mushrooms.
5. Plant Nanny Stakes
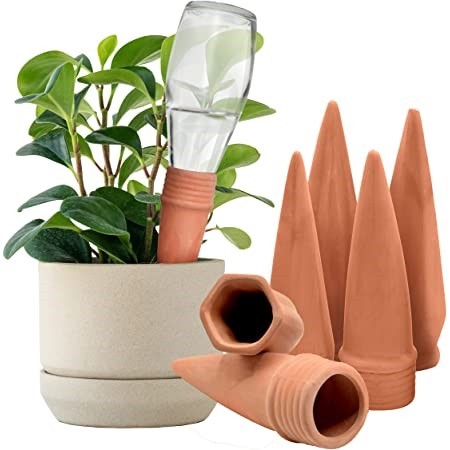
Are you a lazy plant owner or a frequent flyer who occasionally keeps forgetting how thirsty your plant is? This DIY project, the Plant Nanny Stakes are here to save your empty wine bottles and you. These responsible plant caretakers are designed to gravity feed precisely the perfect amount of water into the soil, keeping the plant’s roots at the proper moisture level. Simply fill an empty wine bottle with water, run the Plant Nanny Stake through it, and place it in a pot. With one wine bottle providing up to 7 days of water for a 1-gallon bank, it’s ideal for any potted plant.
Advantages of Building Your Own Garden Tools from Recycled Materials
There are numerous advantages to making your tools out of repurposed materials. Perhaps the essential aspect is that it is a long-term strategy. To avoid waste, turn something you would have thrown away into something helpful you can start by indulging in these DIY projects. Money can be saved by making your garden tools. It’s easy to spend a small sum on gardening, so any savings are welcome. Finally, if you can’t locate what you need in the garden store, you might wish to manufacture your equipment or materials.
DIY methods for repurposing or upcycling objects for your yard.
1. Watering can from a detergent jug
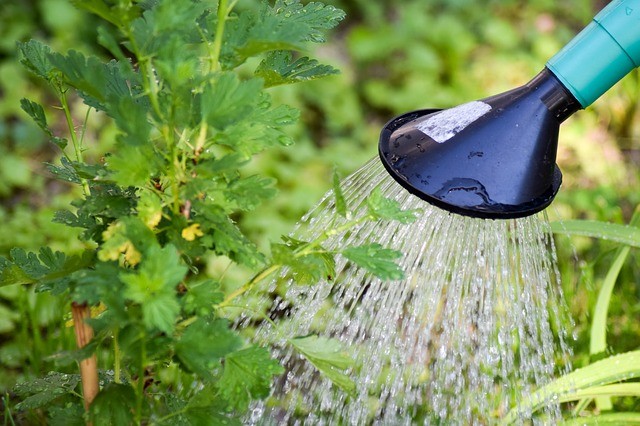
A hammer, a nail, and a plastic jug (a plastic container with a handle) are all you’ll need to make this DIY project come to life/. Start by punching numerous holes through the top of the lid with the hammer and nail. Depending on the size of the cover and the pin, the number of spots will vary. Try to imitate a showerhead’s pattern.
You’re ready to water your plants both indoors and outside now. If you have small children, a half-gallon milk jug instead of a considerable laundry detergent container may be easier for them to pour. Replace the lid on the jar and fill it with water. Use waterproof markers or paint to adorn the pitcher if desired.
2. Seed starters made from toilet paper core
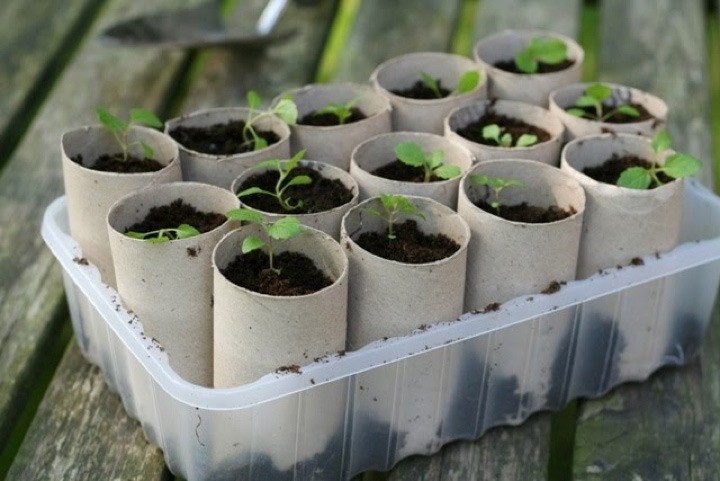
DIYers can start by collecting their toilet paper and paper towel roll tubes, soil, seeds, and a sharp pair of scissors. You have to cut the toilet paper tube in half and the lengthier paper towel roll tube into four round pieces, depending on how many seeds you’re planting. If you’re holding the line straight up, cut horizontally to keep the tube’s shape.
Cut four one-inch notches at one end of the paperboard tube using your scissors. Try to space the notches out so that one is on each side of the line (north, south, west, and east). Fold the four flaps inside as if you were shutting a box. Now is the time to use the seed beginning pot.
Put the seed pots in a waterproof container and fill them with water until the paperboard is entirely saturated. Fill with potting soil, then moisten and plant the seed. Add a little masking tape to the bottom for more stability if desired. Cover the seed pots with a plastic bag to form a mini-greenhouse, which will keep the seeds moist until they sprout.
You can plant the plants and the paperboard tube together when they’re ready to go outside. The boxes are biodegradable and will compost in the soil, but open the bottom flaps before planting for the best results.
3. Plant starters from a milk jug
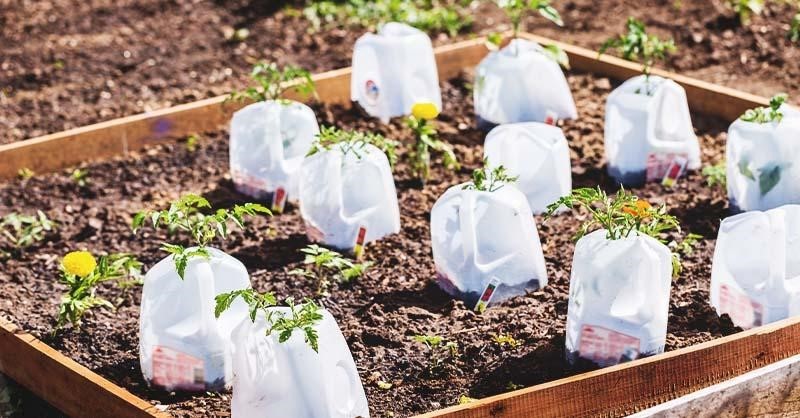
To make this DIY project you’ll need a plastic milk jug of any color, waterproof markers, and a sturdy pair of scissors to produce a set of plant labels or tags for your plants. If you already have a plant marker, you can use it as a template.
The plastic jug should be adequately cleaned and dried. Remove the bottom, the bottleneck, and the handle by carefully cutting open the pitcher. Cut the leftover plastic into three or four flat-laying pieces. Sketch the form onto one of the plastic panels using a plant marker as a template with a waterproof marker. You may be able to fit more than one marker on each panel, depending on the size of the marker.
Set each marker aside after cutting it out of the plastic panels. Any plastic scraps should be recycled. With a waterproof marker, write the name of each plant on a title, then place it in the right area in the garden. Cover the text on the plant labels with packing tape to make it live longer.
Conclusion
Gardening is a beneficial and profitable hobby. It also aids in the development of a connection with the natural world and a passion for it. Furthermore, DIY helps most people’s fondest childhood memories bring out and put them to creative use in the garden.

