A woodcutter is an effective tool for removing unwanted pests and small trees. You can create your own woodcutter out of low-cost parts. That is something that will be demonstrated below for you. So DIYers get your things ready and let’s begin with the process of DIY woodcutting tools.

How does a woodcutter work?
It’s essentially a motor that swings a sharp blade connected to a handle. The motor is controlled by a speed controller that is linked to a small chip that converts the thumb throttle into a signal. All of this will become clear later in the lesson! It is easy once you get your mind around it and start to do it yourself.
This hardwood cutter is incredibly efficient, with a lithium polymer battery and a low KV brushless motor that lets you operate for approximately an hour. Several manufacturers of trimmers utilize a grip throttle that fatigues your hand, however, a thumb throttle allows you to manage the speed of your brushless motor easily even without effort.
Material required to make a wood-cutter:
So here is what you’ll need to build the woodcutter:
- A 2L plastic bottle
- A plastic lunch box
- A 25mm wooden dowel
- An ESC ( Electronic Speed Controller)
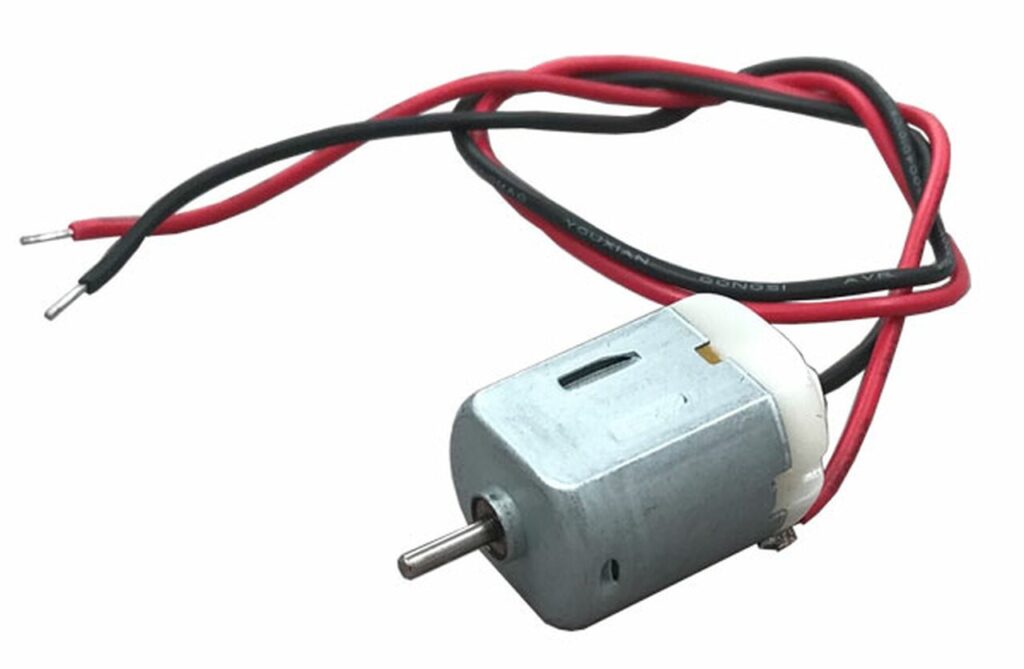
- A motor
- A Servo tester
- A thumb throttle
- A battery
- Scrap materials like wood, aluminum, and foam.
- Electrical tape
- Loctite glue
Mounting a motor (Part 1):

A plastic bottle and a lunch box are being used to make the engine mount. Since they are common home objects, it is incredibly convenient to find them in our homes.
Proceed by slicing 1/3 of the way through the 2L plastic bottle, which will serve as a motor cover. Start drawing a circle on the bottom of the lunch box with the bottle, then carve it out with a Dremel or similar instrument.
Mounting a motor (Part 2):
Cut a piece of foam to the same diameter as the plastic bottle and shape it into a round shape. Cut a hole in the foam walls large enough for the engine to spin without touching them. The foam washer adds rigidity to the motor and makes cementing it in place easier.
Drill the required holes for the motor installation and attach the motor with Loctite glue using screws. Stick the foam washer in place, flush against the bottle’s edges, using the plastic motor mount.
Making the handle:
To make the handle, cut one end of a 1-meter long wooden dowel at 45 degrees, preferably with a 25mm diameter. Remove the cap and adhere it to the 45° cut (a large amount of adhesive is required). Reinforce the high-stress point using electrical tape.
Now, connect the ESC to the motor and ensure it is turning clockwise. To make the ESC water resistant, use electrical tape or heat shrink.

Control with a throttle:
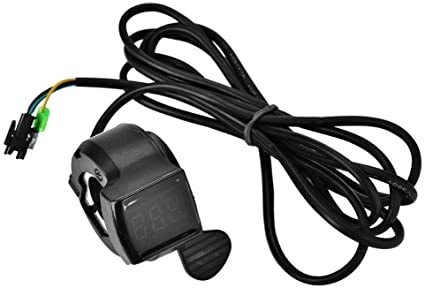
Remove the servo tester’s wrapper and desolder (or cut off) the dial. Grab a piece of wire and fuse it together. This will allow users to just use a thumb throttle and make managing RPMs much easier. Link the servo tester to the speed controller and thumb throttle, and then secure the connections using cable ties.
Blades:
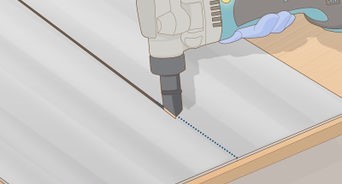
Look around your house; I’m sure you’ve got any scrap metal lying somewhere. The blade dimensions are determined by the width of the material. Nevertheless, here are the measurements used as an example:
- Length: 150mm
- Breadth: 30mm
- Thickness: 2mm
Attaching the blades:
We’ll need to create an adaptor to connect the blades to the motor. Drill holes for the blades and the motor shaft in a scrap piece of wood. Vibrations will occur due to imbalanced blades, thus Loctite glue is a must. Don’t skimp on the Loctite; use a lot! The motor shaft nut is the same way (propeller adapter).
Due to the high-speed spinning of two razor-sharp metal blades. Don’t use it if you’re nоt comfortable with it!
Shield or a protective screen:
Make a shield out of steel wire and bend it to fit behind the whirling blades. This step is necessary in order to improve the machine’s safety. Safety goggles and gumboots should also be used to make sure no injuries occur. The shield should be built of a non-brittle material, and when trimming, remember to virtually pull the shield against the ground, as the blades would be tossed close to the ground if they get loose.
Using the wood-cutter:
It’s a powerful tool with a massive battery that can keep you going for hours! Because you only use the motor for a brief amount of time, keeping track of the voltage is tough, so keep in mind you use a cell spy also known as a voltage alarm. It’s usable to trim grass and small trees, but it can also be used to cut branches.

Precautions to take:
- Wear safety glasses, gloves, and boots.
- Work against the cutter.
- Avoid any distractions and focus on the cutter while working.
- Do not use the tool if you’re not comfortable.
- Make sure to attach the blades properly with the glue so that they won’t cause trouble while using the tool.
Conclusion:
So, that’s how you can construct a wood cutting tool out of things you probably already have around the house. DIY may appear challenging at first, but as the procedures go, you will find that it is not as difficult as it appears. It would save a tonne of money and is simple to use to cut down tree limbs and small trees.
FAQs:
Ques.1. Is it possible to cut plywood with a handsaw?
Ans. A handsaw, jigsaw, table saw, or circular saw can all be used to cut plywood.
Ques.2. What kind of tool is used to shape and trim wood?
Ans. To trim and shape wood, a chisel is a cutting instrument having a sharpened edge at the end of a metal blade.
Ques.3. How do you avoid shattering thin wood when cutting it?
Ans. When using a coping saw, make small, methodical strokes. This focused effort will result in the wood surface on both sides of the cut line not “breaking out.”


